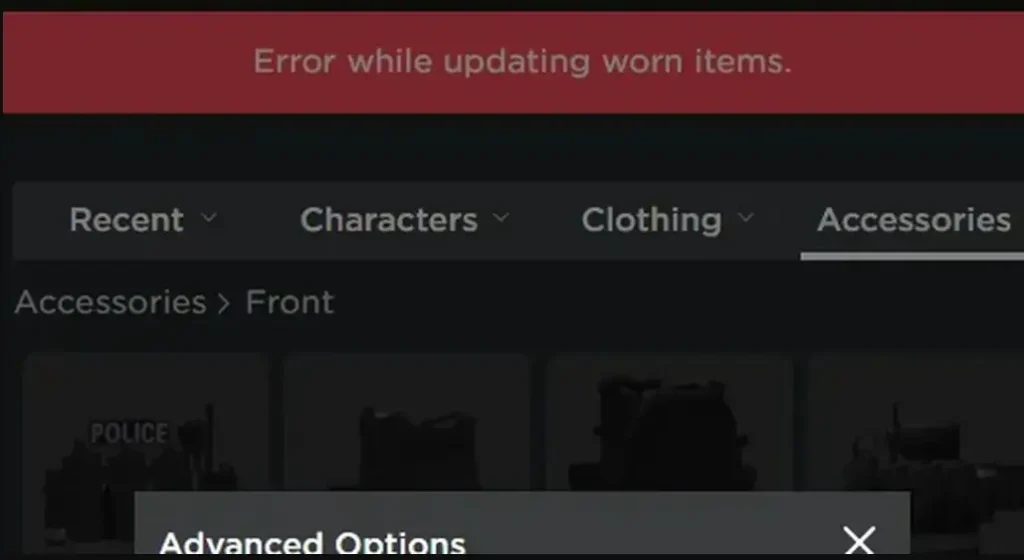
Roblox has become a beloved platform for gamers worldwide, allowing players to create and customize their avatars in engaging virtual worlds. However, many users occasionally face a frustrating hurdle: the “error while updating worn items” message. This issue can disrupt your gameplay and leave you confused. While a definitive solution remains elusive, addressing this problem begins with understanding its underlying causes.
What Causes the “Error While Updating Worn Items” in Roblox?
The “error while updating worn items” message is typically linked to several common factors related to connectivity, account settings, or server glitches:
- Weak Internet Connection: An unstable or slow internet connection can interrupt communication with Roblox servers, leading to update failures.
- Incorrect Roblox Account: Logging into the wrong account may prevent successful updates to your avatar.
- Roblox Server Issues: Server downtime or excessive traffic can hinder your ability to update your avatar’s items.
- Banned or Removed Items: Items that have been banned or removed due to violations of Roblox rules may not update properly.
- Corrupted Temporary Files: Over time, temporary files stored by Roblox can become corrupted, causing various issues.
- Browser Cache Issues: For users playing on the web, an outdated or full cache in your browser may interfere with avatar updates.
- VPN Interference: Using a VPN can disrupt the connection to Roblox, leading to errors when attempting to update items.
How to Resolve the “Error While Updating Worn Items” in Roblox
If you encounter this error, follow these step-by-step solutions to resolve the issue:
1. Add the Item to Your Profile
- Log In: Start by logging into your Roblox account.
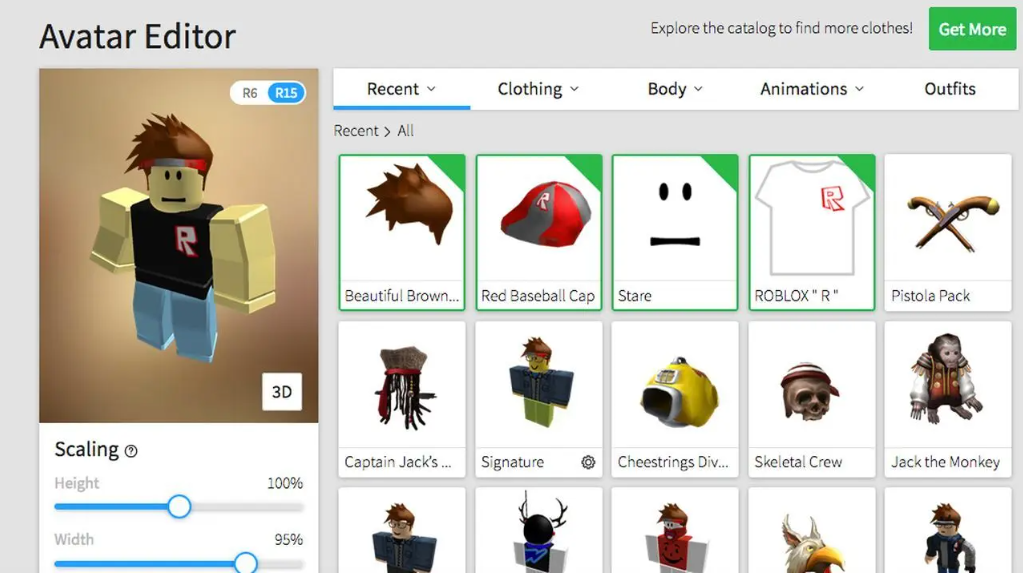
- Access Avatar Settings: Click on the three horizontal lines in the upper-left corner and select “Avatar.”
- Select Item Category: Choose the category of the item you want to update.
- Open Item: Click on the item name to view its details.
- Add to Profile: Click the three dots icon and select “Add to Profile.”
- Update Avatar: Return to the Avatar section, find the item in your list, and click on it to add it to your avatar.
2. Clear Temporary Files (Windows)
- Open Run Dialog: Press Windows + R to open the Run dialog box.
- Access Temp Folder: Type
%localappdata%\Tempand hit Enter. - Delete Roblox Folder: Locate the Roblox folder within the Temp directory and delete it.
3. Clear Browser Cache (for Web Users)
- Open Browser Settings: Launch your browser (e.g., Google Chrome) and click on the three dots in the upper-right corner.
- Navigate to Privacy and Security: Select “Settings,” then go to “Privacy and Security.”
- Clear Browsing Data: Click on “Clear browsing data,” select “All time” as the time range, and check the boxes for Cookies and other site data and Cached images and files.
- Confirm Clearing: Click “Clear data” to finish the process.
4. Check Your Internet Connection
Ensure that your internet connection is stable. If you notice any issues, consider restarting your router.
5. Verify Roblox Server Status
Check if Roblox servers are experiencing downtime or technical difficulties. You can do this by visiting the official Roblox status page or checking community forums.
6. Disable VPN
If you are using a VPN, try disabling it, as it may interfere with Roblox’s ability to update items.
Conclusion
If you’ve followed these steps and the “error while updating worn items” still persists, consider reaching out to Roblox Support for additional assistance. Understanding the potential causes of this issue can help you navigate your gameplay experience more smoothly. By taking proactive steps to resolve connectivity and account issues, you can get back to enjoying the vibrant worlds that Roblox has to offer!
