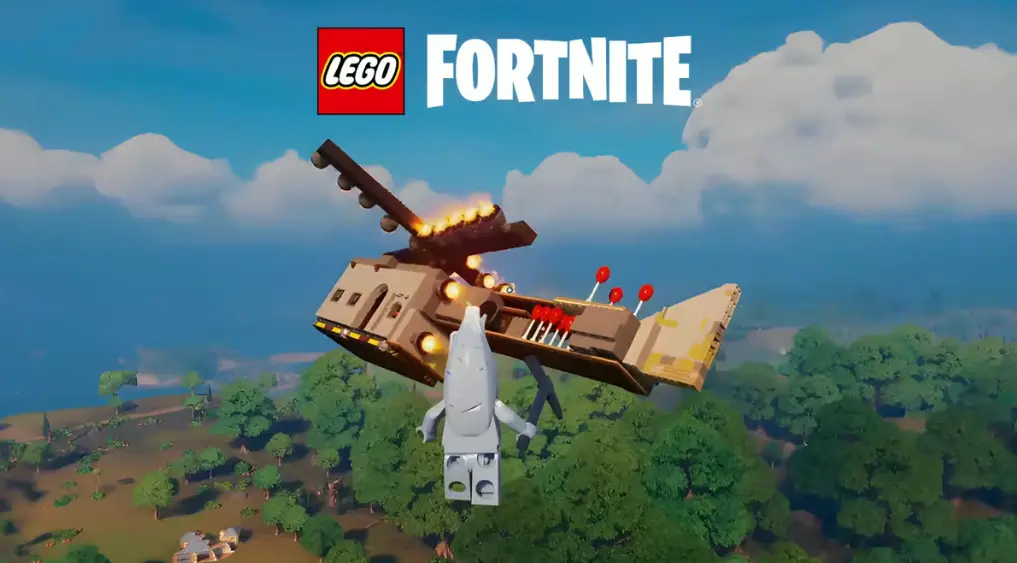
Are you ready to build a fully functional LEGO plane in Fortnite? If so, you’ve come to the right place! In this guide, we will walk you through each step to create a versatile aircraft that can navigate in any direction. Whether you want to show off your skills or simply enjoy flying, this project will provide a fun and challenging experience.
With detailed instructions and easy-to-follow steps, you’ll be flying your custom LEGO Fortnite plane in no time. Impress your friends with your newly built plane that is both practical and exciting. Follow this guide closely, and you’ll soon master the art of LEGO aviation.
Step-by-Step Guide to Building a Functional LEGO Fortnite Plane
1. Start with a Sturdy Base
To begin building your plane, create a solid foundation. Use the Dynamic Foundation from the toys section. This piece will act as the main structure, giving your plane the support it needs.
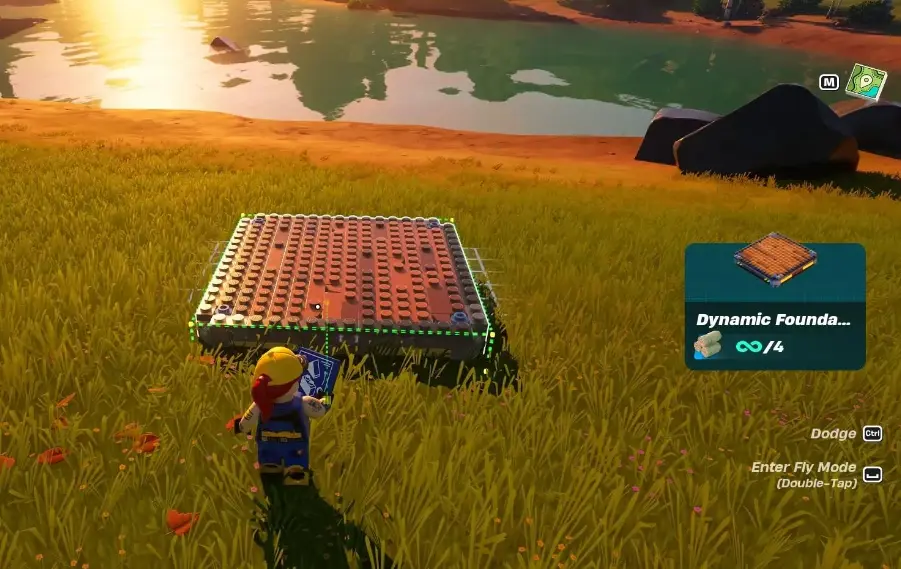
2. Add a Central Wood Foundation
Once the base is set, it’s time to add the wood foundation. Place this foundation in the middle of the Dynamic Foundation. This wood piece will act as the core, helping to stabilize the entire aircraft.
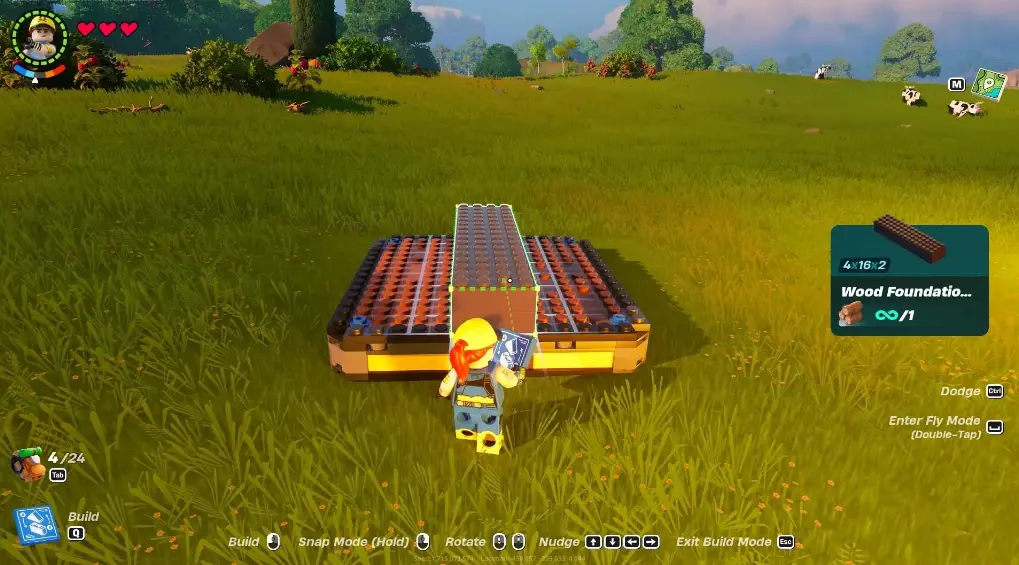
3. Construct the Framework with Medieval Railings
Next, it’s time to build the frame of the plane. From the fence section, select six Medieval Railings. Arrange these railings as shown in the provided image. They will form the outer structure of your aircraft.

4. Install Vertical Foundations and Thrusters
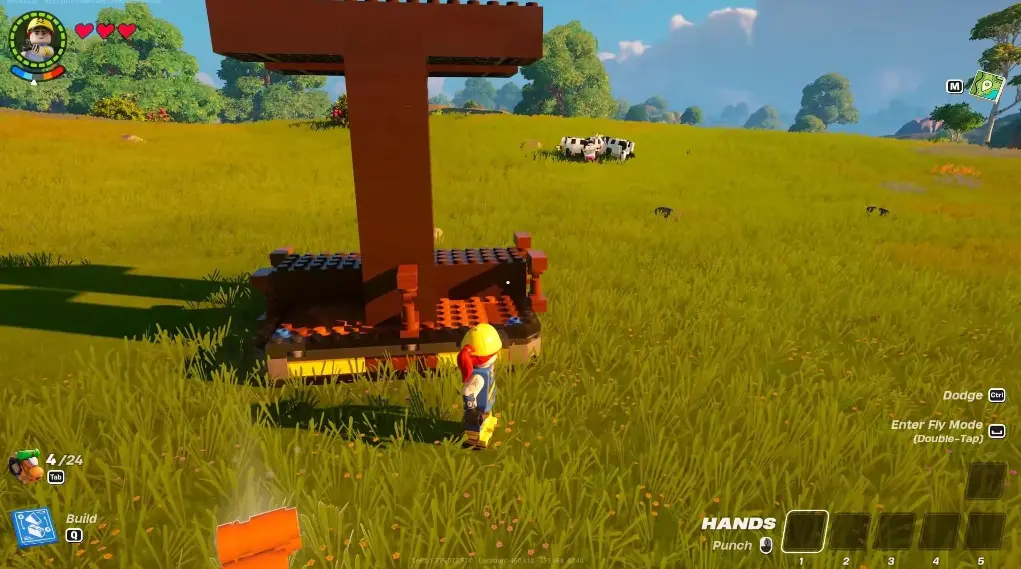
Now, place a vertical wood foundation between the Medieval Railings and the central wood foundation. Add another wood foundation on top of the vertical piece. After that, attach a Small Thruster to the side of this structure. Repeat this process on the other side for symmetry.

5. Enable Independent Thruster Operation

For each thruster to operate independently, you must break the vertical foundation. This allows the thrusters to function separately from the rest of the structure. Attach two activation switches near the thrusters, one on each side. Test their functionality to ensure everything works as intended.

6. Add Back Thrusters for Forward Motion
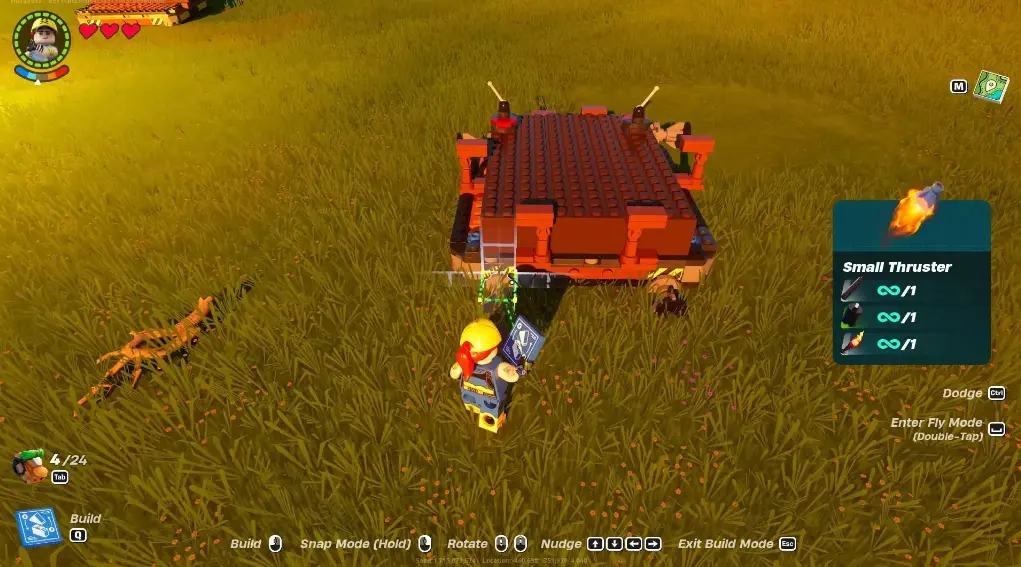
Now that the main components are in place, add two Small Thrusters at the back of the Dynamic Foundation. These thrusters will provide forward motion. Attach an activation switch to the central wood foundation to control them.
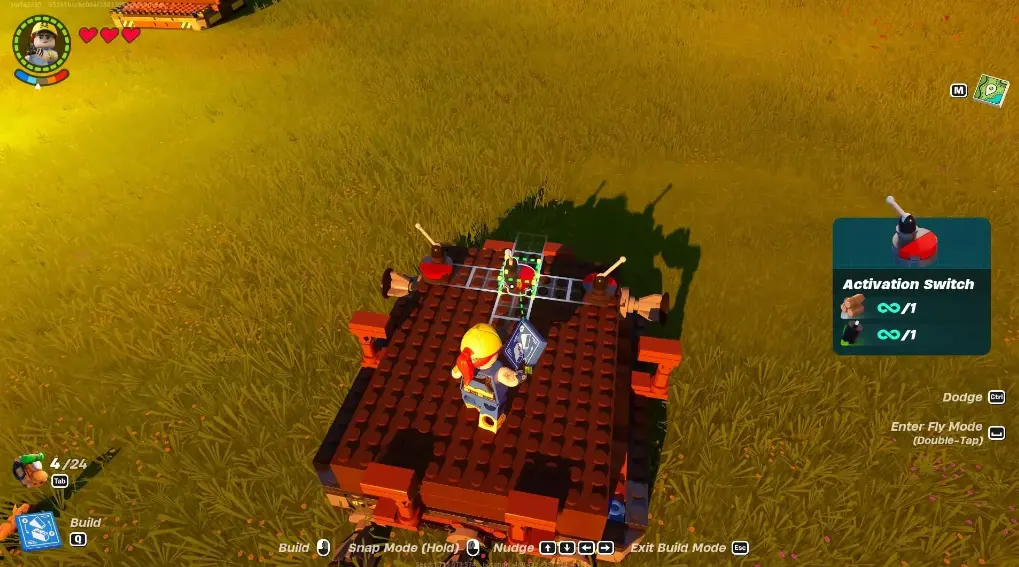
7. Incorporate Balloons for Lift
To give your plane the lift it needs, attach four balloons to the Dynamic Foundation. Additionally, place two more balloons on the side Medieval Railings. Be careful not to attach any balloons to the wood foundation, as they may cause the plane to drift away.

8. Take to the Skies
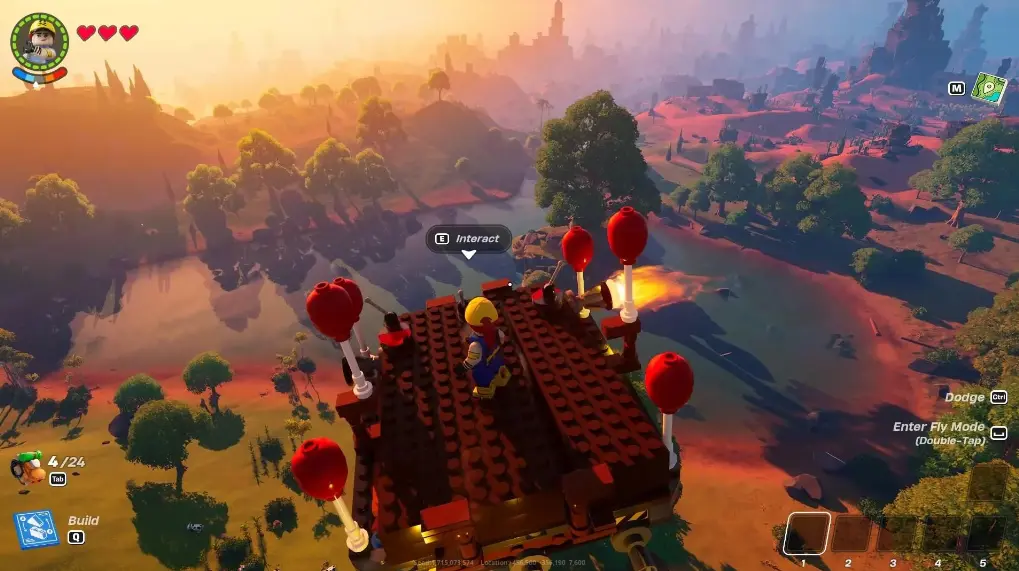
With everything assembled, your plane is ready for flight. Use the middle activation switch to move the plane forward. Use the right switch to turn left and the left switch to turn right. You’ll be flying your custom plane in no time!
Final Thoughts
Building a fully functional plane in LEGO Fortnite can be a rewarding and enjoyable experience. Not only do you get to create a working aircraft, but you also gain valuable skills in building and engineering. This project is perfect for anyone who loves both LEGO and Fortnite. Follow the steps carefully, and you’ll soon have your very own plane ready for takeoff!

